Before Basement Waterproofing
The customer has moved all items away from the wall to allow us room to work.
Clean Work Area
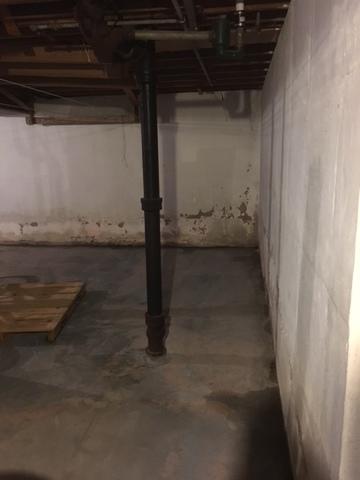
Sometimes there are obstacles in our way.
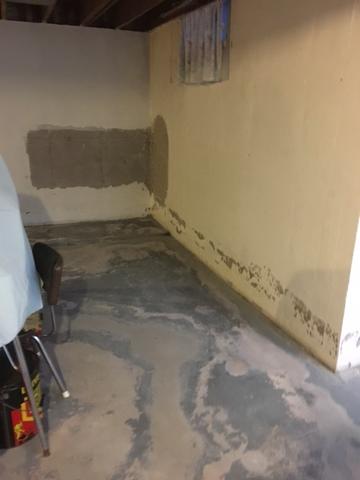
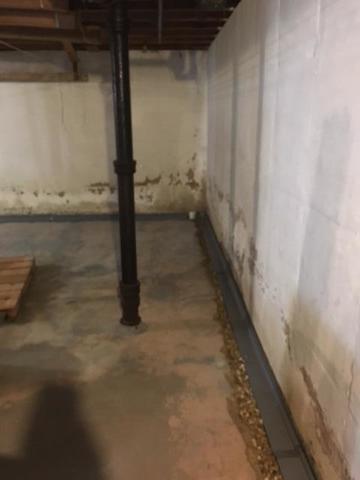
Water Seepage Problem Area
This was the area that gave the homeowners the most trouble.
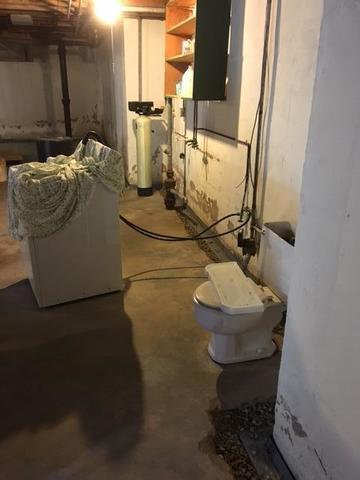
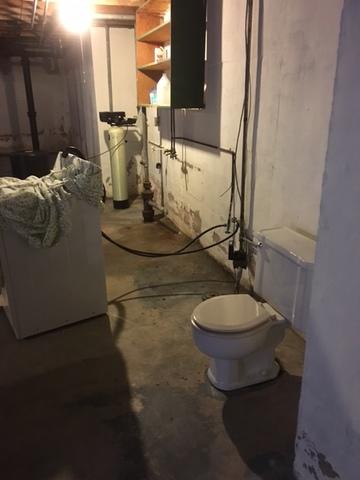
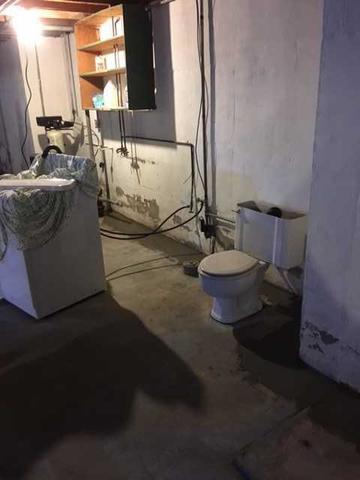
Working Around Obstacles
But, with enough room behind the toilet, we were able to leave it in place and work behind it.
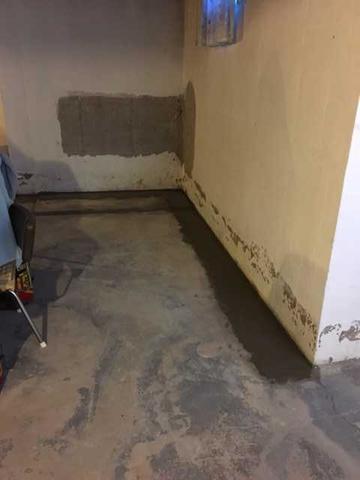
After Basement Waterproofing
The work that we had done is covered by new concrete.
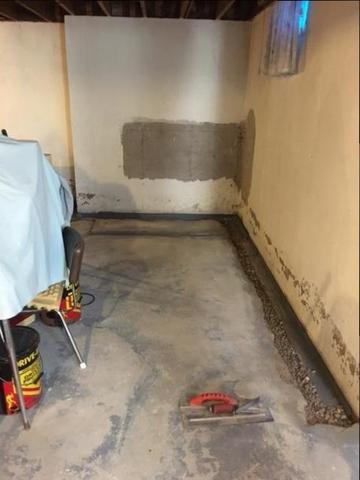
During Basement Waterproofing
We have removed part of the floor and installed fresh, clean stone and WaterGuard.
After We Were Done
The finished floor looks great!
WaterGuard Installation
They are already being protected now that the WaterGuard is in.
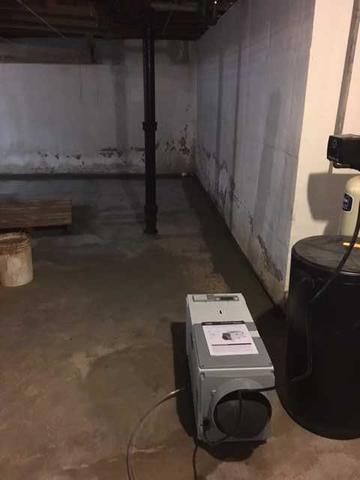
Basement Waterproofing Completed!
Everything is complete!